Introduction
Preparing your walls for painting is a crucial step often overlooked in the DIY painting process. Achieving a flawless finish requires more than just a new coat of paint; it involves careful preparation and attention to detail. This guide will walk you through the essential steps to ensure your walls are perfectly primed for that fresh, vibrant look.
Assessing Your Walls
Identifying Wall Damage
Begin by inspecting your walls for any signs of damage. Look for cracks, holes, or dents that may need attention before painting.
Checking for Moisture Issues
Moisture can cause paint to peel, so it’s vital to ensure your walls are dry. Look for any signs of dampness or water damage.
Cleaning the Walls
Dusting and Washing
Dust and wash your walls thoroughly. This step is crucial for removing dirt, dust, and grime that could interfere with paint adherence.
Removing Stains and Marks
Tackle any stains or marks with a gentle, non-abrasive cleaner. Remember, a clean surface is key for a smooth painting job.
Repairing Wall Damage
Filling Holes and Cracks
Use a spackle or filler to repair any holes or cracks, ensuring a smooth and even surface.
Sanding for Smoothness
After filling, sand the areas smoothly to align with the wall’s surface. This step is crucial for an even paint application.
Tackling Wallpaper
Removing Old Wallpaper
If your walls have old wallpaper, carefully remove it without damaging the wall’s surface.
Preparing Surface Post Wallpaper Removal
Once the wallpaper is removed, clean and smooth the wall to prepare it for painting.
Dealing with Mould and Mildew
Identification and Cleaning
Identify any areas affected by mould or mildew and clean them thoroughly with a suitable cleaner.
Preventative Measures
Take measures to prevent future mould growth, such as using a mould-resistant primer.
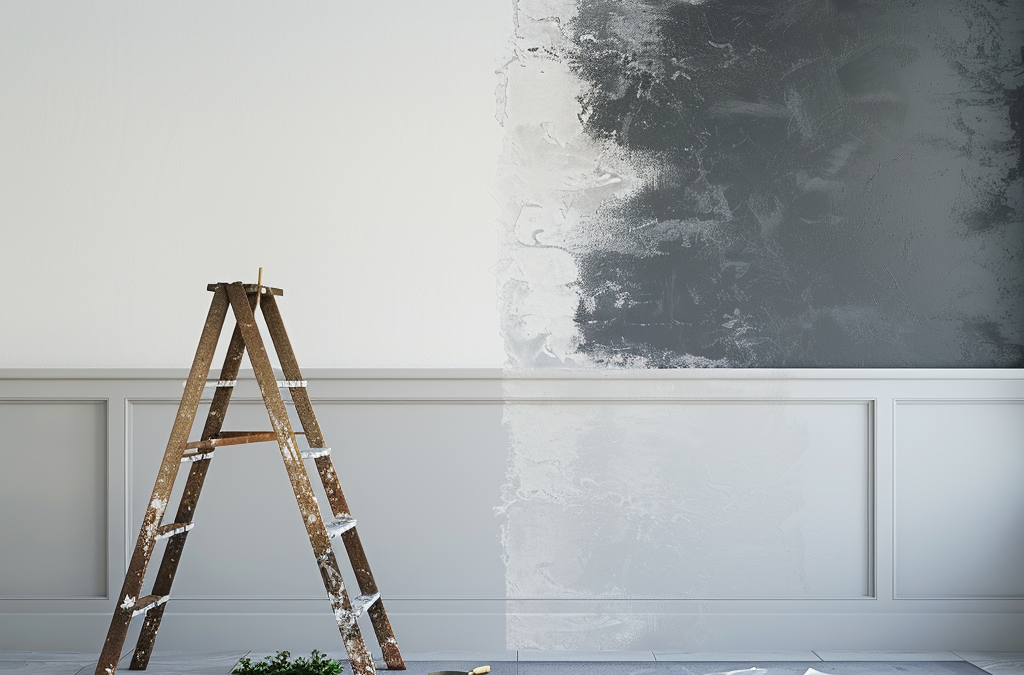
Priming Your Walls
Choosing the Right Primer
Select the appropriate primer based on your wall condition and the type of paint you plan to use.
Application Techniques
Apply the primer evenly, covering all areas to ensure a consistent paint application.
Ensuring Adequate Ventilation
Understand the importance of ventilation for drying and maintaining a healthy environment while painting.
Choosing the Right Tools and Materials
Brushes, Rollers, and Other Tools
Choose the right brushes, rollers, and tools for a professional finish.
Paint Selection Tips
Select the right type of paint for your walls, considering factors like room type, lighting, and wall material.
Covering Fixtures and Furniture
Protective Measures
Cover all fixtures, fittings, and furniture to protect them from paint splatters.
Applying Painter’s Tape
Techniques for Clean Edges
Use painter’s tape for clean, sharp edges, applying it carefully along trimmings and corners.
Painting Techniques
Brushwork Skills
Learn effective brush techniques for areas that rollers can’t reach.
Roller Techniques
Master roller techniques for a smooth, even coat across larger wall areas.
Post-Painting Cleanup
Proper Disposal of Materials
Dispose of used materials properly, respecting environmental guidelines.
Cleaning Brushes and Rollers
Clean your tools thoroughly for future use or disposal.
Final Touches and Inspection
Checking for Missed Spots
Inspect your work for any missed spots or areas that might need a touch-up.
Additional Coats
Determine if additional coats are necessary for a uniform finish.
Conclusion
Congratulations on completing your wall preparation! With these steps, you’re well on your way to achieving a beautiful, professional-looking paint job. Remember, good preparation is the key to great results.